The goal of setup is not perfection. The goal is to answer one practical question: can this account make it through the next 30 days?
1. Create your first account
Start with the account you use most often for bills and everyday spending. Use the current balance from your bank or card app as the account balance. CalBudget uses that balance as the starting point for the forecast, then adds income and subtracts expenses as the calendar moves forward. Good first accounts include:Checking account
Best when most bills, groceries, gas, and paycheck deposits run through one account.
Main debit account
Useful if debit spending drives your day-to-day balance.
Bill-pay account
Good when fixed monthly bills run through a separate account.
Active savings account
Use this when you move money in and out for planned goals.
2. Add your next income
Add your next paycheck, benefit payment, transfer, or other income on the date it should arrive. Choose an income category so the transaction increases the running balance. If the income repeats, set the repeat schedule while creating the transaction.3. Add your required bills
Add the bills that have fixed or predictable dates first:- Rent or mortgage
- Utilities
- Phone and internet
- Insurance
- Credit card or loan payments
- Subscriptions
4. Add flexible spending
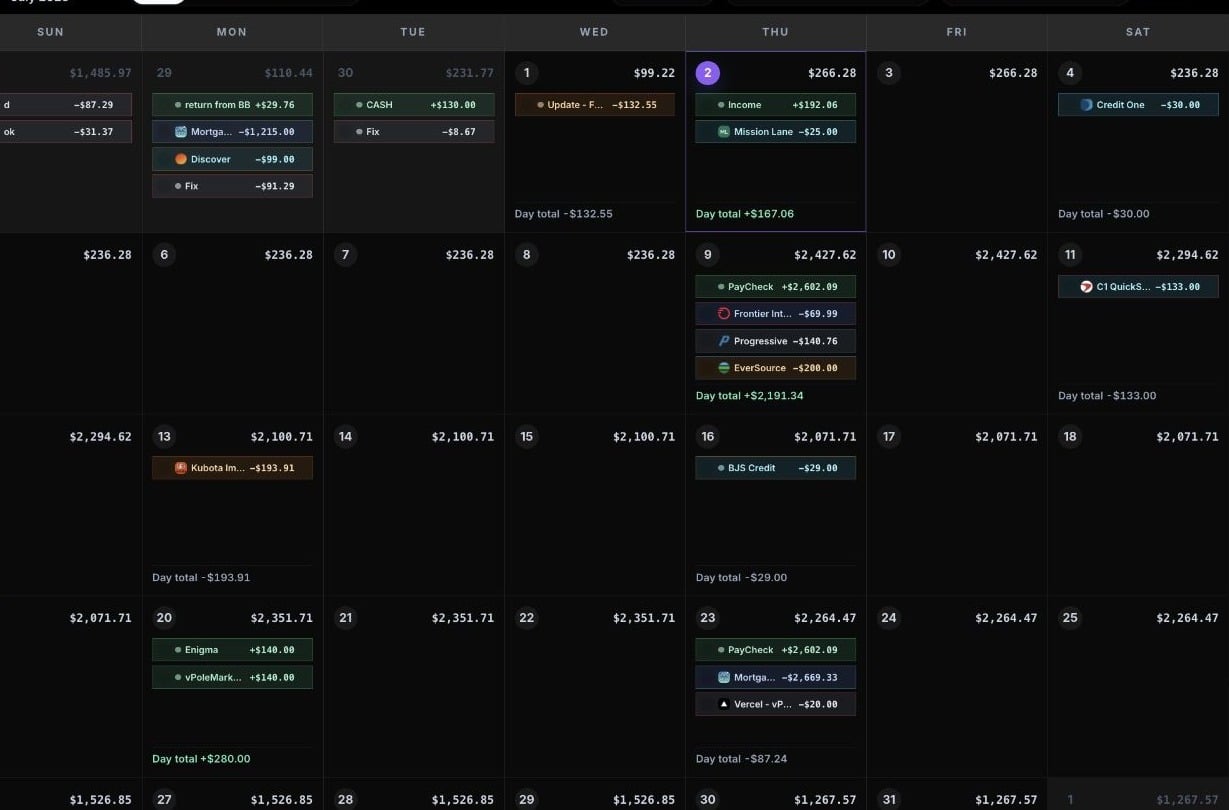
After the must-pay items are on the calendar, add planned spending for groceries, gas, childcare, entertainment, or other flexible costs. You can use one transaction per expected purchase, or you can add larger planning blocks such as “Groceries” on the days you usually shop.5. Review the running balance
Look across the month for low or negative balance days. Those are the dates where the plan needs attention. Common fixes include:- Move a planned expense to a later date.
- Lower a flexible spending amount.
- Add a missing paycheck or transfer.
- Split a bill into multiple payments if that matches how you actually pay it.
- Update the account balance if it changed.
6. Mark items cleared as they happen
When a transaction posts or you confirm it happened, mark it cleared. Cleared items still affect the forecast, but they are easier to separate from items that are still planned.A good first-week setup
You do not need to build the entire financial picture at once. Aim for a first calendar that answers one question: “Will this account make it through the next 30 days?” Once that feels reliable, add more accounts, recurring schedules, bookmarks, and longer-term planning details.Next: transactions
Learn how to add income, expenses, notes, websites, and cleared status.
Next: recurring
Make paychecks, bills, subscriptions, and transfers repeat automatically.
Next: reports
Use reports after the calendar has enough real dates to analyze.